Bathroom Maintenance Tips
Here are our top tips for keeping your bathroom in good health and order.
Combating Mould and Mildew
Mould and mildew love nothing better than damp, warm conditions and they are one of the most common problems in any bathrooms. Grout in particular is a magnet for mould, and the tell-tale black or brownish patches will show whether you’re developing a mould issue. If you’ve spotted mould then deal with it promptly – it’s not going away on its own.
Put on a pair of rubber gloves and mix up some bleach with warm water, one part bleach to three parts water. Use a sponge, cotton wool ball or a balled-up piece of kitchen paper to dab the solution onto any areas where you spot signs of mould. Leave the solution to work for an hour, then rinse away. Improving ventilation in the bathroom might help stop the mould return.
Keeping Your Shower Glass Pristine
Shower glass can be tricky to keep clean, and not just in hard water areas where you’re fighting against limescale. Soap, shampoo and other products can leave streaks and other marks on the glass. Using a daily shower spray on the glass can help resist the build-up of product on the glass, but often cleaning it regularly is the only option. There’s no need to buy expensive products for this, the best thing to use is a mixture of white vinegar and warm water in a fifty-fifty ratio. Use a microfibre cloth or sponge, and after you’ve dipped it in the vinegar sprinkle on some baking soda to create a “fizz”. This chemical reaction is what will create the cleaning action, so work across the shower glass using your cloth or sponge. This should help remove the cloudiness on the glass. Once the glass has dried, rinse it off using your shower.
Cleaning the Shower HeadLimescale can also build up in your shower head, so if you start to notice that not as much water is getting through as previously, it could be time for a clean. Most shower heads just screw in place so removing it shouldn’t be too tricky and you don’t need to switch the water off at the mains. First, give the shower head a wash to remove any dirt or debris just using a standard all purpose cleaner (or even washing up liquid) and a sponge. Then fill a plastic sandwich bag, or a plastic tub with 50% warm water, and 50% white vinegar. Pop the shower head into the bag, securing it tightly with an elastic band, or make sure the head is submerged in the tub. Leave overnight.
Overnight, the acid in the vinegar will react with the alkali limescale, removing the scale from the shower head. Just give it a rinse through with plain warm water to remove any vinegar traces, and screw back into place on your shower. The same technique can be used to deal with scaled taps, as long as you secure the bag with the vinegar solution to keep it in contact with the scaled area.
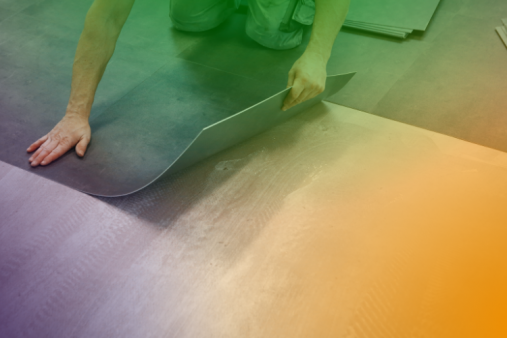
Replacing Silicon Sealant
The white strip of silicon sealant around the join between your shower tray or bath and the walls is durable, but over time will deteriorate. The white silicon seal is all that there is to keep the water in the bath or shower and stop it from seeping into the area below, potentially causing damp and other issues elsewhere in the house. If you’ve noticed that the silicon seal is degrading then replacing it isn’t a difficult job, and one you can probably tackle yourself.
Take a trip to your local DIY store and get the tools you’ll need – a Stanley knife or similar, a sealant gun, masking tape, and a cartridge or two of your chosen sealant product, which are also sometimes sold as “caulking”. Most sealants are white but you can also buy coloured products should you prefer. Open the windows for ventilation before you start working, and begin by using your Stanley knife to cut along above and below the seal to help you remove it cleanly without damaging the walls or the shower tray or bath. Once the seal has been removed, clean the area thoroughly using an all-purpose cleaner, and leave it to dry. If you’re replacing silicon around a bath, fill it with water. The weight of the water will lower the level of the bath slightly and ensure you’re sealing the right area. Mask of the wall at the level where you want the sealant to stop.
Before you attack the wall with your sealant gun, have a practice on an old piece of carboard to get the hand of using it. Working slowly and smoothly, work your way around the edges of your bathtub or shower tray. If you make a mistake just stop, wipe away the excess sealant, and carry on. Take your time and move around the area to be sealed in a methodical way. After you’ve finished, leave the sealant to dry according to manufacturer’s recommendations – this usually takes a couple of hours. Once the sealant is completely dry, the bath and shower can be safely used again.