Removing your old kitchen step-by-step
Getting a new kitchen involves a substantial investment, and it’s only natural to look for ways to keep costs under control. If you’re buying from a large company then they will usually assume that their fitter will start the job by removing your old kitchen, and quote accordingly. But if you’re prepared to take on that part of the job yourself, giving your fitter a blank space to start working, then you might be able to negotiate a better price. But is it worth the effort?
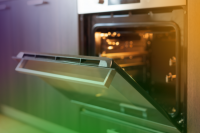
Gas, Electricity and Water
Many of your kitchen appliances such as washing machines, dishwashers or fridges are just plugged into sockets and can be disconnected at the flick of a switch. Cookers and hobs are a different matter and are often “hard-wired” into the mains. These must be disconnected by a qualified professional, as must anything running on gas. Disconnecting plumbed in items doesn’t always need a plumber, but you need to understand how they’re connected and what you need to do to safely remove them without flooding your kitchen.
Skip or Sell?
Most people ripping out a kitchen just hire a skip and chuck everything away. Hiring a skip will cost around £200 for a week, and if there’s not room for it in the garden or on the drive, you will have to get permission from the Council to put it on the road. Another option is to try to sell your existing kitchen online. Price it competitively, and people might be prepared to take your old worksurface, cabinets or appliances off your hands.
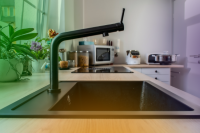
Move the Essentials Elsewhere
Before you start pulling the kitchen apart, think about how you’re going to cook and eat while the new kitchen is being installed. Move the essentials like microwave, fridge, kettle and toaster into another room if you have space, making sure you have remembered to put plates and cutlery aside too. Pack away other items which you won’t be using during the renovation, and store them well out of the way in the loft, garage or shed if you have space.
Look Online for Help
Often, you’ll be able to find manuals and installation guides for kitchens online and these should help you follow the instructions in reverse to work out how to safely remove them. YouTube videos will walk you step by step through removing everything from worktops to sinks.
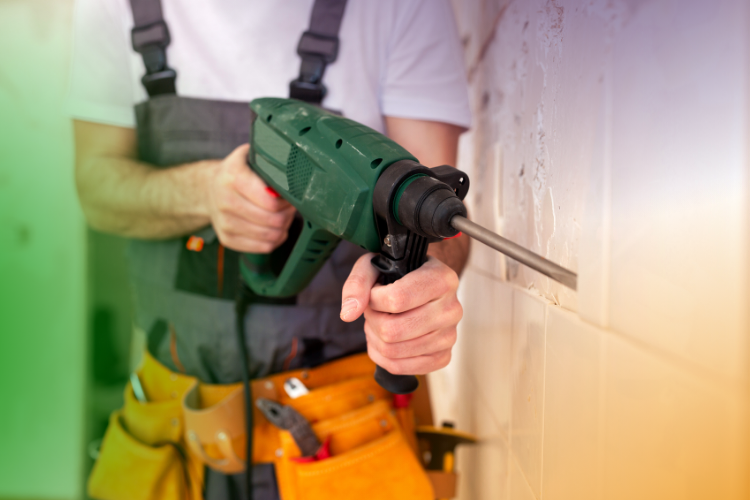
Tiles and Flooring
The last job to tackle after you’ve removed the appliances and the units is to remove the tiles, and whatever floor covering you have in the kitchen. Tiles can easily splinter or chip as you’re removing them, so always wear goggles and gloves as you’re chipping them off the wall. Sometimes, the existing flooring can be left in place, with any new flooring simply being fitted over the top of what’s currently in place. If you are removing flooring, it’s usually easier to start at a corner and work across the room. You might need to use a chisel or screwdriver to remove flooring which has been firmly glued down.