Top Bathroom Cleaning Tips
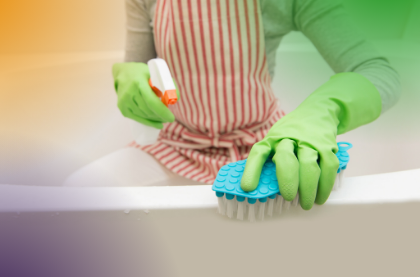
Does anyone actually like cleaning the bathroom? Cleaning the bathroom isn’t top of most people’s lists of how they’d like to spend their free time. But it’s a necessary evil. It’s one of the rooms in the house which gets the heaviest use and needs the most cleaning, so it’s no surprise that so many of us are reluctant to tackle the job. It’s time-consuming, and requires a fair amount of effort too. Although there’s no magic wand we can wave to make the task quicker or more pleasant, if you can keep on top of the routine cleaning and maintenance in the bathroom, then it should make the routine a lot quicker and more easier. Here are our top tips and our ten-step plan for getting the bathroom cleaned quickly and efficiently and with an eye to being more environmentally-friendly too, followed by some routine maintenance tips for keeping your bathroom looking great.
Keep It Clear
Cleaning your bathroom is much easier when you don’t have to spend time putting things away first. Try to keep your bathroom clutter free if possible. This is much easier if you have enough storage in the room. One of the best solutions is a vanity unit under your sink, with drawers or shelves to store things in. If that’s not practical, look at freestanding shelved units, with drawers or boxes you can pull out. Allocate one box to each member of the family, and get everyone to put their things away when finished with them.
Dealing with Limescale
If you live in an area with hard water, then limescale is going to be one of your major challenges in the bathroom. This hard, scaly deposit can build-up on the shower or in the toilet and can be difficult to shift. One of the best ways of getting rid of limescale is with vinegar, as this reverses the chemical reaction which caused it to form in the first place. If your shower head is clogged, unscrew it and leave it in a plastic box filled with vinegar overnight. The trick to dealing with limescale is treating it regularly rather than leaving it until it is very severe, then trying to clean it up.
Ditch the Cleaning Products
Do you really need separate cleaners for the bath, sink, floor, tiles and toilet? Probably not, but it is in the manufacturer’s best interests to sell you as many as possible. A basic soapy cleaner will be enough to clean down all the surfaces in your bathroom. You can even make your own by putting some washing up liquid with water in an old trigger spray. Go even more old-school by using a mix of equal parts water and white vinegar – perfect for cleaning mirrors, bath screens and windows. Always use bathroom chemicals sparingly, and never mix chemicals or cleaning products together.
Enamel Baths
If you’re lucky enough to have a freestanding or enamel bath, you have to take a bit more care in cleaning it. Enamel scratches easily, so never use sponges with a scouring pad on one side, or granular cream cleaners. Some products designed to tackle limescale can make enamel appear dull, but it can be easily brought back to life using a vinegar and water solution. If you’ve moved into a house with a very scratched bath, look into having it re-enamelled rather than replacing it entirely.
Cleaning the Grout
Grubby grout can pull the whole aspect of the bathroom down, but it’s usually easy to clean. Use an old toothbrush and a solution of one part bleach to four parts water. This should clean up the grout, and kill off any mould which is growing in the grout.
Ten Step Bathroom Maintenance and Cleaning Routine
1. Clear the Bathroom First
Start by giving yourself a clear room to work in, by removing all the bottles, toothbrushes and everything else from your shower and bath. Clear the counters, and either put everything in cupboards, or outside the door until you’ve finished. Remember to move the bin too.
2. Get the Sweeping and Dusting Done First
You’ll need a duster on the end of a long handle to help you reach any cobwebs high up on the ceiling, and it’s always best to start your dusting at the top as the dust and dirt will wall to the floor. Once the ceilings are done, get out the vacuum or brush to clear the floors.
3. Pre-treat the Shower and Bath
Next, get your chosen cleaning product and squirt it around the bathtub and shower tray and leave it to work as you get on with other tasks. Take care with bleach or acid based products, especially if you have a ceramic bathtub.
4. Clean the Other Surfaces
As the cleaner gets to work on your shower tray and bath, spray some cleaner onto a cloth or sponge and wipe round the other areas in your bathroom, such as towel rails, surface around the sink, windowsills etc. Try to be methodical, ensuring you don’t miss anything.
5. Clean the Floor
Fill a bucket with warm water, and add a small amount of cleaning fluid, in the proportions recommended by the manufacturer. Leave it to one side.
6. Shower and Bath
The cleaning products will by now have had their opportunity to work on the shower tub and bath, so it should be easy to use a scourer to get rid of any remaining dirt. Make sure everything is thoroughly cleaned before rinsing off with clean water.
7. Replace Everything?
Put the bottles and other items which you removed from the shower, if you have to. This is the perfect opportunity to put things away and make your bathroom look even tidier.
8. Sink Area
Use your same all-purpose cleaner to deal with the sink, taps and area around your sink, wiping dry with a clean cloth. If you are using bar soap in the bathroom, clean out the soap dish using a scrub scourer. Clean the mirror using a glass cleaning fluid and then wipe with some kitchen paper.
9. Clean the Loo
All-purpose bathroom cleaners are usually sufficient to clean the toilet as well, but if you live in an area with very hard water, you may wish to use a specialised product instead.
10. Finish with the Floor
The last job is to pick up the bucket of water with the cleaning fluid and to mop the floor and leave it to dry before replacing the bin and anything else you’ve moved out of the room.
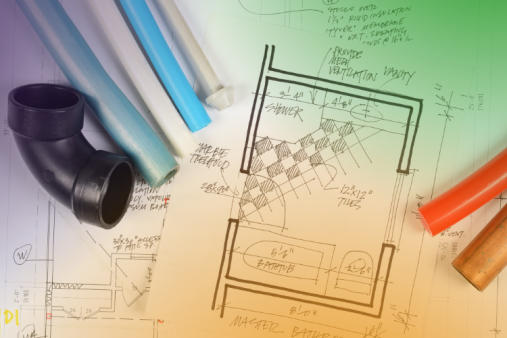
A good cleaning routine will help you keep on top of the basic cleanliness and hygiene in your bathroom, but there are other maintenance tasks which you should keep on top of too. Nobody’s expecting you to take on wholescale plumbing tasks, but there are lots of low-level, small maintenance jobs that you can do in the bathroom which will keep it in better shape and hopefully prevent the need for more extensive repair work.
