Upgrading interior doors
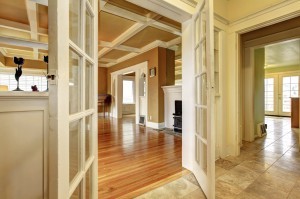 If your hallways are looking a bit dated and you’re thinking about thinking about undertaking the project of upgrading interior doors in your home, you can instantly lift the character of the rooms throughout your house by changing them for new ones.
How to hang a door in an existing frame
This isn’t a huge job, and something which most homeowners will be able to tackle by themselves, with a bit of preparation, some attention to detail and the right tools and materials.
Getting organised when fitting new interior doors
Tools & materials you will need
Aside from the new interior doors you will find the following tools useful:
- Tape measure
- Sharp pencil
- Drill (wired or cordless)
- Wood plane (hand or power)
- 25mm (1″) Chisel
- Hard point hand saw
- Hammer or wooden mallet
- 2mm & 3mm HSS drill bit
Quick overview
Doors can be trimmed to fit by around 1cm, but if your door frames are an awkward shape you might have to contact a carpenter to have doors made to fit.
If you live in a three storey town house, or certain other types of house you may have fire doors fitted which are self-closing and have special fire retardant properties, which have to be replaced with similar. Also look at your door hinges; how many are there, what size and in what position
Starting Work
The first job is obviously to remove your old door, so use the right size of screwdriver and carefully remove the screws.
If the door is particularly heavy, you might need someone to help you support the door as you remove the screws.
Most hinges will leave a mark on the door frame which will help you with the positioning of the new hinges, but mark with a pencil of they have not.
Carefully measure your new door to ensure that you mark the position for the hinges correctly, as if the hinges are fitted in the wrong position the door will not fit.
Latch Plate and Handles
The latch plate is the fitting which is fitted into the door frame, and stops the door from opening.
Depending on the style of the door, you might choose to reuse the latches and handles from your existing doors.
If not, you should chisel out new spaces in the door frames for the new latch plates.
Mark areas which are to be chiselled away in pencil, and then work carefully to remove any excess wood.
If your new latch plates are smaller, fill in extra space carefully, then paint before fitting the new plates.
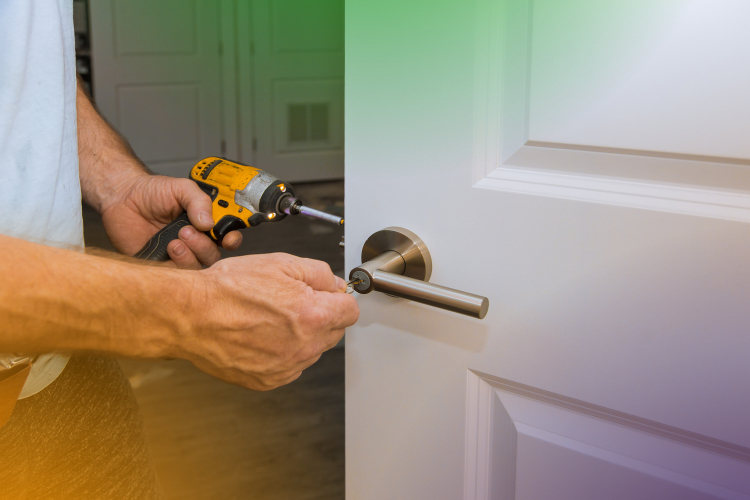
Decide where the handles need to be fitted, and again measure carefully and mark with a pencil before drilling a hole to allow the handle to slot through.
Use the screws supplied with the handles to fix them firmly into the door according to the manufacturer’s instructions.
Painting
If you plan to paint your new doors, it is usually better to do this before you start fitting handles and latch plates, to eliminate the possibility of splashes or drips on your new handles. Gloss paint is the traditional choice for woodwork but this type of paint can be difficult to apply and takes a long time to dry, so satinwood is a good modern alternative.
You may need to apply more than one coast of paint to get a smooth and even finish.
We’ve also put together some clear step-by-step-instructions to make hanging your interior door easier:
Step by step instructions on interior door hanging
- Carefully take the old door out of position and remove it. For ease and convenience you should plan to keep the doorstop where it is currently, which should be fine as long as there are no differences between the new door and the old door. If the new door is thicker than the old one you likely will have to adjust the doorstop position accordingly.
- You should leave a gap of 3mm between the lining of the door and the hinge edging of the door. A good measure of the gap is a butt hinge.
- On the other side (the closing side) of the door again allow for a 3mm gap. You should draw a 3mm line on both door sides so you get an even edge which is equal on either side of the door.
- Plane the door back with your plane to the 3mm pencil lines you have created. You will need to turn the door sideways to do this.
- In addition to the 3mm gap on either side of the door you will also need one at the bottom and top of the door. Again 3mm. Take into consideration whether there are any uneven finishes on the floor when you open the door which might affect this.
- To plane off the 3mm from the top and bottom of the door repeat the task from earlier (i.e. mark the 3mm with pencil and plane off). Start from the outside of the door (outer edge) and work your way inwards. This will help prevent end grain splitting. It’s also recommended that if you have more than a few millimetres to work with on the door, you should use a hand saw initially. Switch to the plane when there is just a few millimetres left to finish.
- Place the new door into position and mark out on the new door where the hinges go (using the old hinge positions).
- Using the marks you’ve created to indicate where the hinges should go, lie the door down on its side. Take the new hinges and draw round them so they align with the marks you made from the old hinges.
- Cut out the wood on the new door using a chisel in the new hinge position.
- Using a stanley knife (retractable) score a line along the new hinge position you created with the pencil line. Only cut it to the depth of the hinge though.
- Take out the wood you marked using a chisel. Be careful not to split the wood by making small cuts every 5-10mm or so using a chisel. Tap away at the chisel until you get to the depth of the hinge.
- Remove the wood by using the blade of the chisel and tap away gently until you get to the depth needed for the hinge.
- After removing the wood from the positions of the hinges you can then take each hinge and hold it in place.
- Mark out the holes in the hinges where the screws need to go and do some tentative small drill holes to get a grip with the screwdriver.
- Screw in all the hinges fully using the screwdriver.
- Ensuring you have help to hold the door as it will be heavy, attach the door lining side of the hinge and create tentative holes again.
- Screw the hinges on the door frame into place. Again, ensure you have a helper to hold the door for you whilst you do this.
- Mark out the bottom, end and top of the latch casing on the door facing.
- Ensure you line up the existing frame of the door with its strike plate.
- Using a spirit level mark out some pencil lines in a horizontal line and also draw a vertical line through the middle so you can ensure you have a guide.
- Mark on the door where the latch end and latch length should be.
- Mark the depth of the latch with a piece of tape.
- Using a flat bit which is very slightly larger than the casing of the latch drill slowly to the depth needed. Be very careful here.
- Be careful not to split the wood whilst drilling at the spindle position you marked earlier.
- Position the latch carefully after pushing your latch into the hole.
- Draw a pencil mark all the way round the newly fitted latch plate.
- Take off the latch temporarily and chip away at the timber within the perimeter of the new latch depth with a chisel.
- Fit the latch firming into place. Ensure it fits well before adding some holes to get a grip for the screws.
- Screw the latch into place securely.
- Fit the new spindle into the door latch you have fitted.
- Place the handles on the new spindle.
- Once you are confident they are exactly vertical you should then mark fixing holes using an awl.
- Fit the handles using a screwdriver rather than a drill which might split the wood or surface of the handle if it slipped.
- Check that the latch is engaging in the door frame properly by closing the door.
- Adjust as necessary if the latch is not fitting properly.
- Check for any rattling with the new door and if there is rattling you should level it off.
- Do some final checks to ensure the door is now closing properly and without problems.
- Decorate the door.