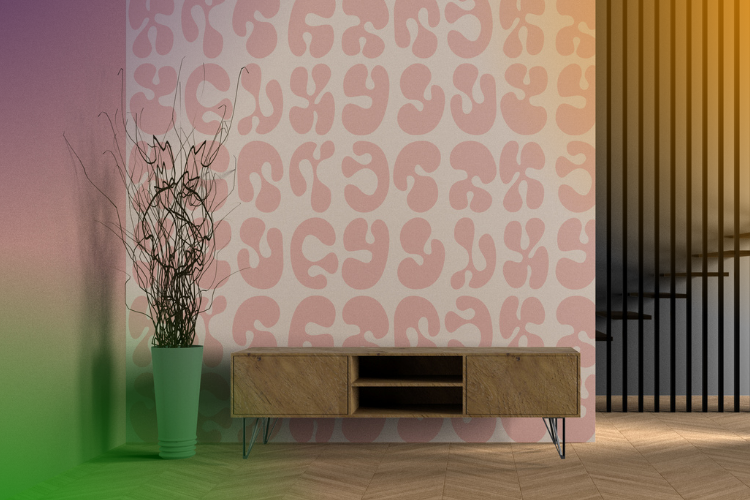
Hanging patterned wallpaper

Attractive wallpaper coverings make a huge difference to the overall appearance and finish of any room. If you learn to hang patterned wallpaper properly you will undoubtedly transform your room completely. Hanging patterned wallpaper can take some practice, patience and certainly some attention to detail. If you get it right, you'll have a room which will wow all your friends and family without a doubt.
If you’ve spent good money on your favourite wallpaper, the last thing you want to do is to mess it up because you’re not sure how to hang patterned wallpaper.
There’s a trick to hanging patterned wallpaper, and you’ll need patience and good attention to detail.
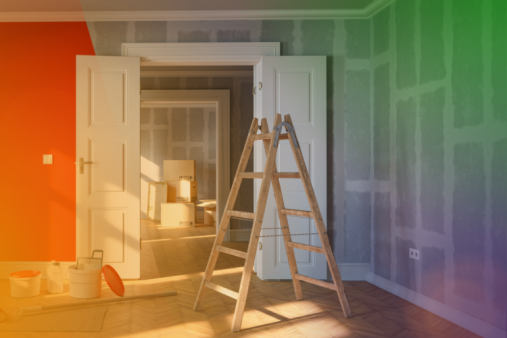
As this can be a tricky job, it might be worth looking up a local decorator and asking them to quote you a price for the work.
Patterned wallpaper hanging tips
Here are the tips to get you started with your project:
- Check wallpaper batch numbers when buying your rolls of paper
- Ensure everything you buy has the same batch number and is exactly the same shade
- Make sure the walls are primed and prepared before you start
- Make sure the walls are sound and don't need any levelling
- Make sure the walls are dry and free of any debris and dust
- Ensure any painting of ceilings you've done are dried fully before you start
- When cutting paper give yourself about 4 inches of paper to allow for pattern matching
- Ensure you have a full motif at the top of the paper if you have a bold pattern
- Drawing the letter T on the back of the paper will help you avoid hanging the paper upside down
- Start in a corner or somewhere inconspicuous to disguise any mistakes
- For bold paper start from somewhere in the middle of the room, such as a chimney breast
- Use a spirit level and mark a line down the wall with pencil
- Hang the paper parallel to the line you've drawn on the wall
- Hang the paper according to manufacturers instructions
- Ensure you leave a few inches at the top to cut off after
- Smooth down any air-bubbles by working your way down the paper
- Run the scissors along the top after you've finished
- Remove any paste from the paper with a damp sponge so it won't stain
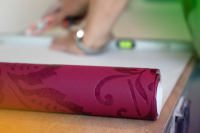
Checking wallpaper batch numbers is important
If you’re going to do the work yourself, start by checking that each roll of wallpaper has the same batch number and is the same shade - it’s easy to get them mixed up in the shop!
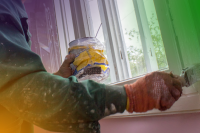
Before you begin with your project
Before you start wallpapering, make sure the walls are primed and prepared first.
They should be sound, clean and dry.
If you have any painting to do, on the ceiling for instance, be sure to finish this off and let it dry before you do anything else.
Cutting the wallpaper
When you’re ready to hang the wallpaper, cut it in strips.
You should give yourself about four inches of extra paper to allow room to match up the pattern on each strip.
If you have a bold pattern on your wallpaper, try to ensure that you don’t cut the pattern off at the top of the wall - you should aim to have a full motif at the top.
Hanging patterned paper upside down
Drawing the letter T on the back of your wallpaper will ensure that you don’t hang it upside down.
Do this with every strip, or you could end up with some strange looking patterns on your walls.
The best place to start hanging wallpaper is in a corner or somewhere inconspicuous, to disguise any mistakes.
For bold patterned wallpaper, it’s best to begin from the centre of the room or from a dominant feature, such as a chimney breast.
Use a spirit level to make sure drops are straight
To make sure that your wallpaper hangs straight, use a spirit level and mark a line down the wall with a pencil.
When you’re ready to put up the first strip of wallpaper, hang it parallel to the line you drew.
Once you’ve soaked the wallpaper, following the manufacturer’s instructions, it’s ready to hang.
Hold it at the top and press the top half of the length to the wall.
You should allow about 2 inches at the top of the wall to trim off later.
Then smooth down the middle, removing any air bubbles as you go.
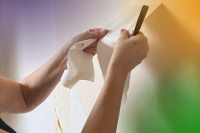
Finishing off
Next, run your scissors along the top, between the wall and the ceiling and the skirting at the bottom.
Pull the length away slightly, trim the excess, then brush the wallpaper back into place.
Lastly, remove any paste from the front of the paper with a damp sponge so it won’t stain.
Now all that’s left is to stand back and admire your handiwork!
If you’re not confident about your DIY skills, call in the local decorators - they’ll be able to quote you a price and finish the job to a high standard.