Installing an Electrical Shaver Socket
The advent of bathroom gadgets such as electric toothbrushes has meant that more and more of us need to use a shaver point in the bathroom. Fitting a shaver socket is a relatively straightforward task, but as with any type of work involving electricity, it is best to fully understand the job before getting started, and if in doubt at any stage, call in a professional.
Getting Started
The first job is to work out where the cables and electricity supply runs through the house, and working out where the best place would be to have the shaver socket, and how it is to be connected into the mains. This may affect where in the bathroom you decide to have the shaver socket, but the most common position is close to the sink or by a mirror. Mark on the wall the position of the new socket using a pencil and check with a level to see that it is straight.
Inserting the Socket
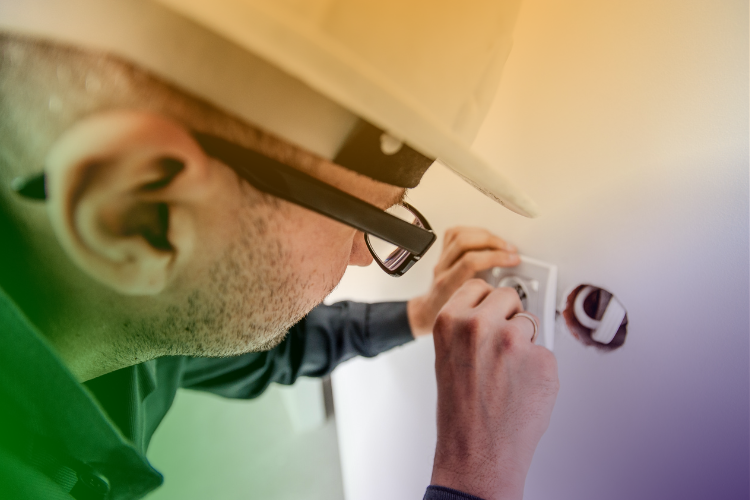
Once the position for the socket has been marked, cut the correct size of hole in the wall. If cutting into plasterboard this is a simple task; if the wall is brick or stone it will require more specialist equipment. Do not cut the hole in wall too large as it will need to be filled at a later stage and it will look less professional than a snugly fitting shaver socket. Secure the shaver socket onto the wall using screws and make sure everything is firmly attached.
Attaching the Wires
Wiring the shaver socket up to the mains is the trickiest part of the process. Turn off the electricity supply at the mains before starting any work with the wiring. Route the wires from the back of the shaver socket through the walls to the mounting box. Again, this is a simple process if the walls are plasterboard and trickier if they are brick or stone. Connect the wires up to the shaver socket, fastening the earth, live and neutral wires to the corresponding terminals. Check the wiring diagrams carefully to make sure that no mistakes are made with the colour coding of the wires, as this has changed recently and in older houses the colours of wires may be different from on a modern shaver socket. Ensure everything is tightened up securely and that the shaver socket is sealed properly with waterproof sealant to stop any water getting into the electricity. Test the shaver socket with a circuit tester, and then plug in a shaver to see if it is working properly. If there are any problems, check that all the connections are tightened correctly and that no wires have worked loose while the socket was being placed.
Safety
Under new regulations, any electrical work which is done in the house, including installing a new shaver socket, has to be checked and certified by a qualified electrician. These measures are to prevent electrical fires or other accidents caused by poor wiring.