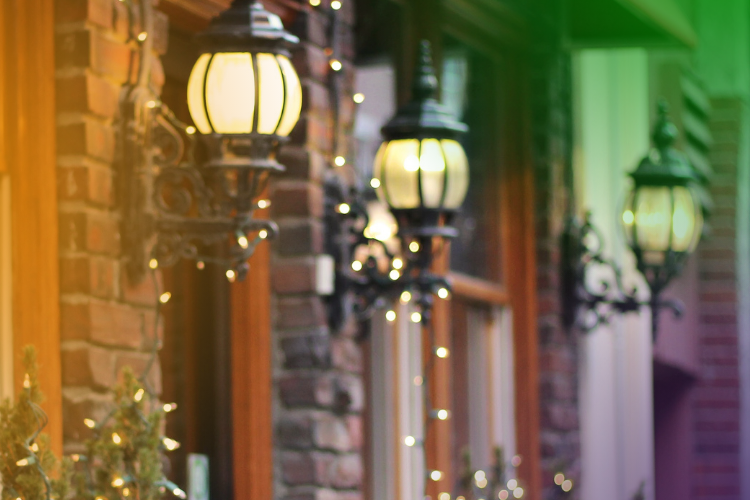
Having lighting outside in the garden performs the dual function of giving additional security or a deterrent for burglars and light for when dining or socializing outside.
There is a huge range of outside lights on the market, and every DIY store will stock a good selection of different types.
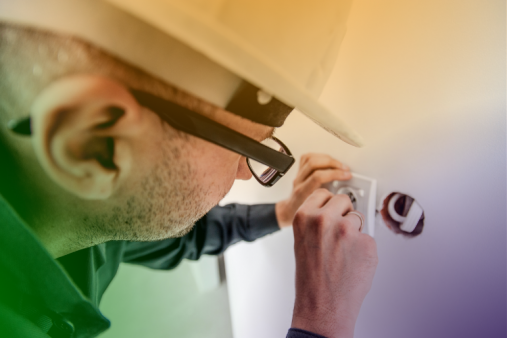
Although many people prefer to leave anything concerning electricity to the professionals, fitting a light outside is not a difficult task and can be achieved with a minimum of DIY skills.
Getting Started
First, take some time to think about exactly where on the wall you wish the lights to be positioned.
Mark the positions with pencil, taking into account the size of the light and which areas will be illuminated when the lights are switched on.
Always choose a light which is specifically designed to be used outside. Before starting to fit the actual light, switch off the electricity supply at the mains to ensure the safest working conditions possible.
Think about which circuit of electricity in the house is the most appropriate to connect the outside light into.
This will usually be another lighting circuit. Using an upstairs circuit is easier as cables run through the loft space and mean that there is no need to remove floorboards and rip up carpets to put in the new light.
Drilling and Feeding Wires
Once the position for the new light has been decided, the next step is to drill through the wall and fix the new light up.
In order to make a hole through the exterior of the house, an especially long masonry drill bit will be needed.
Feed the electrical cable through the wall, leaving enough on the outside to connect up the light.
Never switch on the power supply until the job is completed. Any switch needed to control the light should also be on the inside of the building.
If using a motion controlled light for security purposes, this is not an issue.
Connecting
The next part of the process is to connect the wire into one of the mains junction boxes.
The electricity supply must be off for this to be done safely.
Connect up the wires in the cable to the correct terminals in the junction box, making sure everything is tightened up and fastened securely.
When you are happy with the connection at the junction box, move to the other end of the cable and wire the cable onto the light.
Most lights bought at DIY stores will have full instructions about how to do this properly.
After the light is wired up, follow the instructions given in the packaging for securing the light onto the wall, which will usually mean drilling another couple of holes and attaching the light using large screws into the brickwork.
Finishing
If using a passive infra red type of light which switches on when someone moves past, test the sensitivity of the sensor to make sure that the light is performing properly and is not switching on every few seconds.