Your Garden Steps Building Guide
Not all of us are lucky enough to have an outdoor space which is all on the same level.
Although there is nothing wrong with a gently sloping garden, if the gradient is too steep then the garden becomes almost impossible to use effectively.
One of the best ways of dealing with a garden which slopes is to have different sections of the garden at different levels, and to link these sections using steps.
Preparation
The first part of any job in the garden or house is to take time out to prepare and think about what the end effect should be.
Factors to consider include issues such as where in the garden the steps are to be located, what sort of material is going to be used to make the steps, how wide they are going to be and whether any sort of hand rail is going to be needed for support.
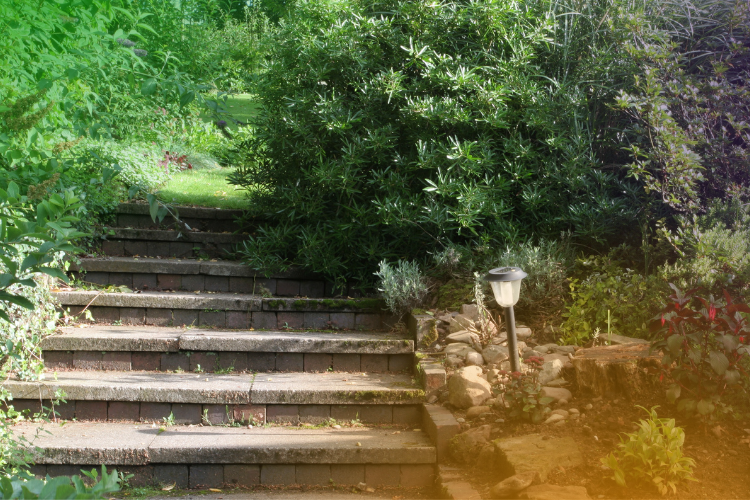
The most common type of material used to make garden steps is bricks which are resistant to frost, and these can be bought from all major DIY stores.
Measuring
When laying steps on a slope, start by measuring the height and the length of the slope.
As each brick is 200mm high, this will help you work out how many steps you will have in the flight.
Measuring the length of the slope will help you work out how deep each step is going to be, assuming you want to have your steps all equally sized.
Take time over this stage and mark out exactly where the steps are going to be with pegs and string.
For beginners, stick to a straight flight of stairs and leave the sweeping staircases with intricate brickwork to the professional bricklaying services.
Foundation
Starting at the top of the slope, dig out rough step shapes using a garden spade.
This is the hard labour part of the process and it will be much quicker to complete if you are able to rope in some friends or family to help with the digging.
At the bottom of the flights of steps, lay the foundation layers of bricks.
Check the alignment of the bricks with a spirit level as mistakes at this stage will mean that the rest of the stairs are not square either.
Set the bricks in cement and leave them to dry thoroughly, preferably overnight. If the weather is damp, cover the bricks with a plastic sheet while they dry.
Completing the Steps
Once the first layer of bricks has been completed, continue setting the risers and the steps themselves up the slope.
Check how square each brick is with your spirit level before moving on to the next step.
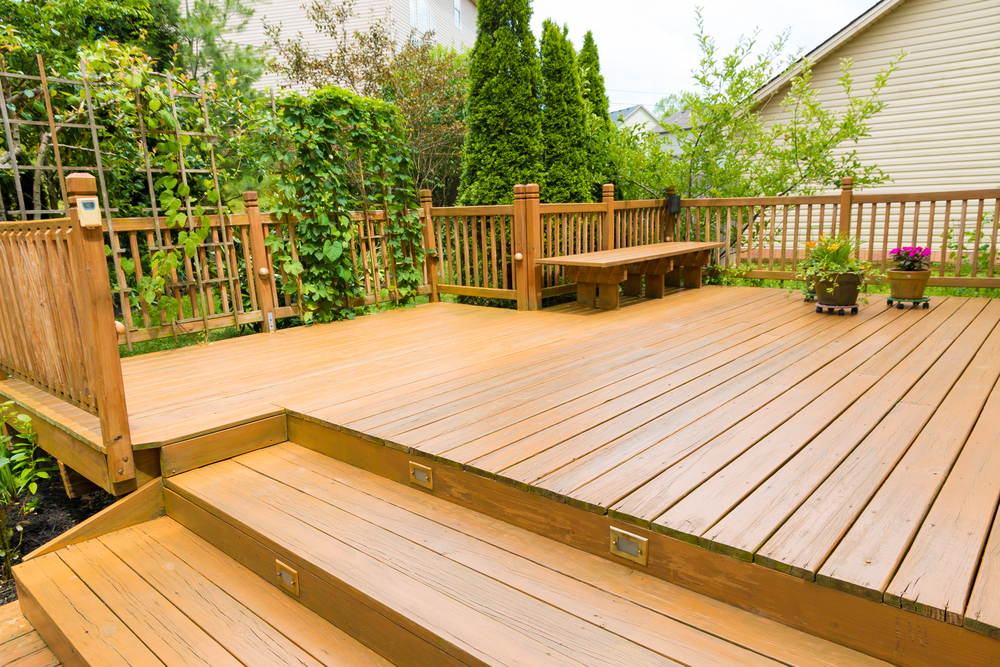
Secure them with mortar as you go. For a gentle slope, paving slabs can be used to form the step and bricks can be used for the risers.
Once all of the bricks have been laid, they have to be allowed to dry thoroughly before anyone uses the steps.